Updated Feb 16, 2023 to include new USB Loader GX features.
Wii Video Quality
The Wii has some rather soft video output, but there are things you can do to get a better picture out of it.
The best signal a Wii can output is 480p through component. Be sure to avoid generic component cables. Most are of poor quality. HD Retrovision Wii Component cables gave a noticeable boost in image quality over the generic cables I had.
The system only outputs a 4:3 (fullscreen) image no matter what setting you choose. Using the 16:9 (widescreen) setting squishes the image into a 4:3 signal. You will use the RetroTINK 5x or your TV to set the aspect ratio to 16:9 and stretch it back out. This is called “Anamorphic Widescreen.”
4:3 is generally sharper, but most Wii games were designed for 16:9. It’s a conundrum!
Note: There is also a bug present in all Wii models that makes the video slightly softer. There is a 480p Pixel Fix for early models with the homebrew app USB Loader GX. See below for more details.
Wii Video Settings
To begin, set the Wii video output to 480p.
- Go to System Settings.
- Select Screen,
- Select TV Resolution.
- Select HDTV (480p).
- Select Confirm to save the changes.
Next, choose an aspect ratio. This will depend on the game. If you want the picture to fill the entire screen of your HDTV, choose Widescreen.
- Go to System Settings.
- Select Screen
- Select Widescreen Settings.
- Select Standard (4:3) or Widescreen (16:9).
What widescreen setting you pick here will determine which RetroTINK 5x settings you will use below.
RetroTINK 5x Settings
Below are my system A/V options for best scaling of the Wii by the RetroTINK 5x (as of Firmware 3.0).
I generally like the 1080p (Over) scaling to fill my HDTV as much as I can. Then I add Post Processing filters to help sharpen the image for 16:9 games. If I’m playing a 4:3 game, I add Post Processing scan lines and shadow mask filters to give an old TV (CRT) look to the image. I use Framelock for the lowest latency and RGB Full for best colors in my setup.
The Wii video image isn’t ever centered perfectly for me, so I also have to fuss with the RetroTINK’s Scaling/Crop settings till things are centered precisely. Check the Crop settings for cropped out picture on the edges and adjust H Position and V Position.
Avoid messing with H (Interp) Size and V Size. That will knock things out of an integer scale and make things look uneven — especially with scan lines and CRT Post Processing filters.
Omitted settings are the default. Your setup will vary, so use this as a starting point. Be sure to try out the Post-Processing settings to find the look you prefer.
Widescreen (16:9):
|
|
Fullscreen (4:3):
|
|
Once I have things to my liking, I save the settings to a profile so I don’t have to set it up agin. (Well, until a new firmware update clears my saved profiles!)
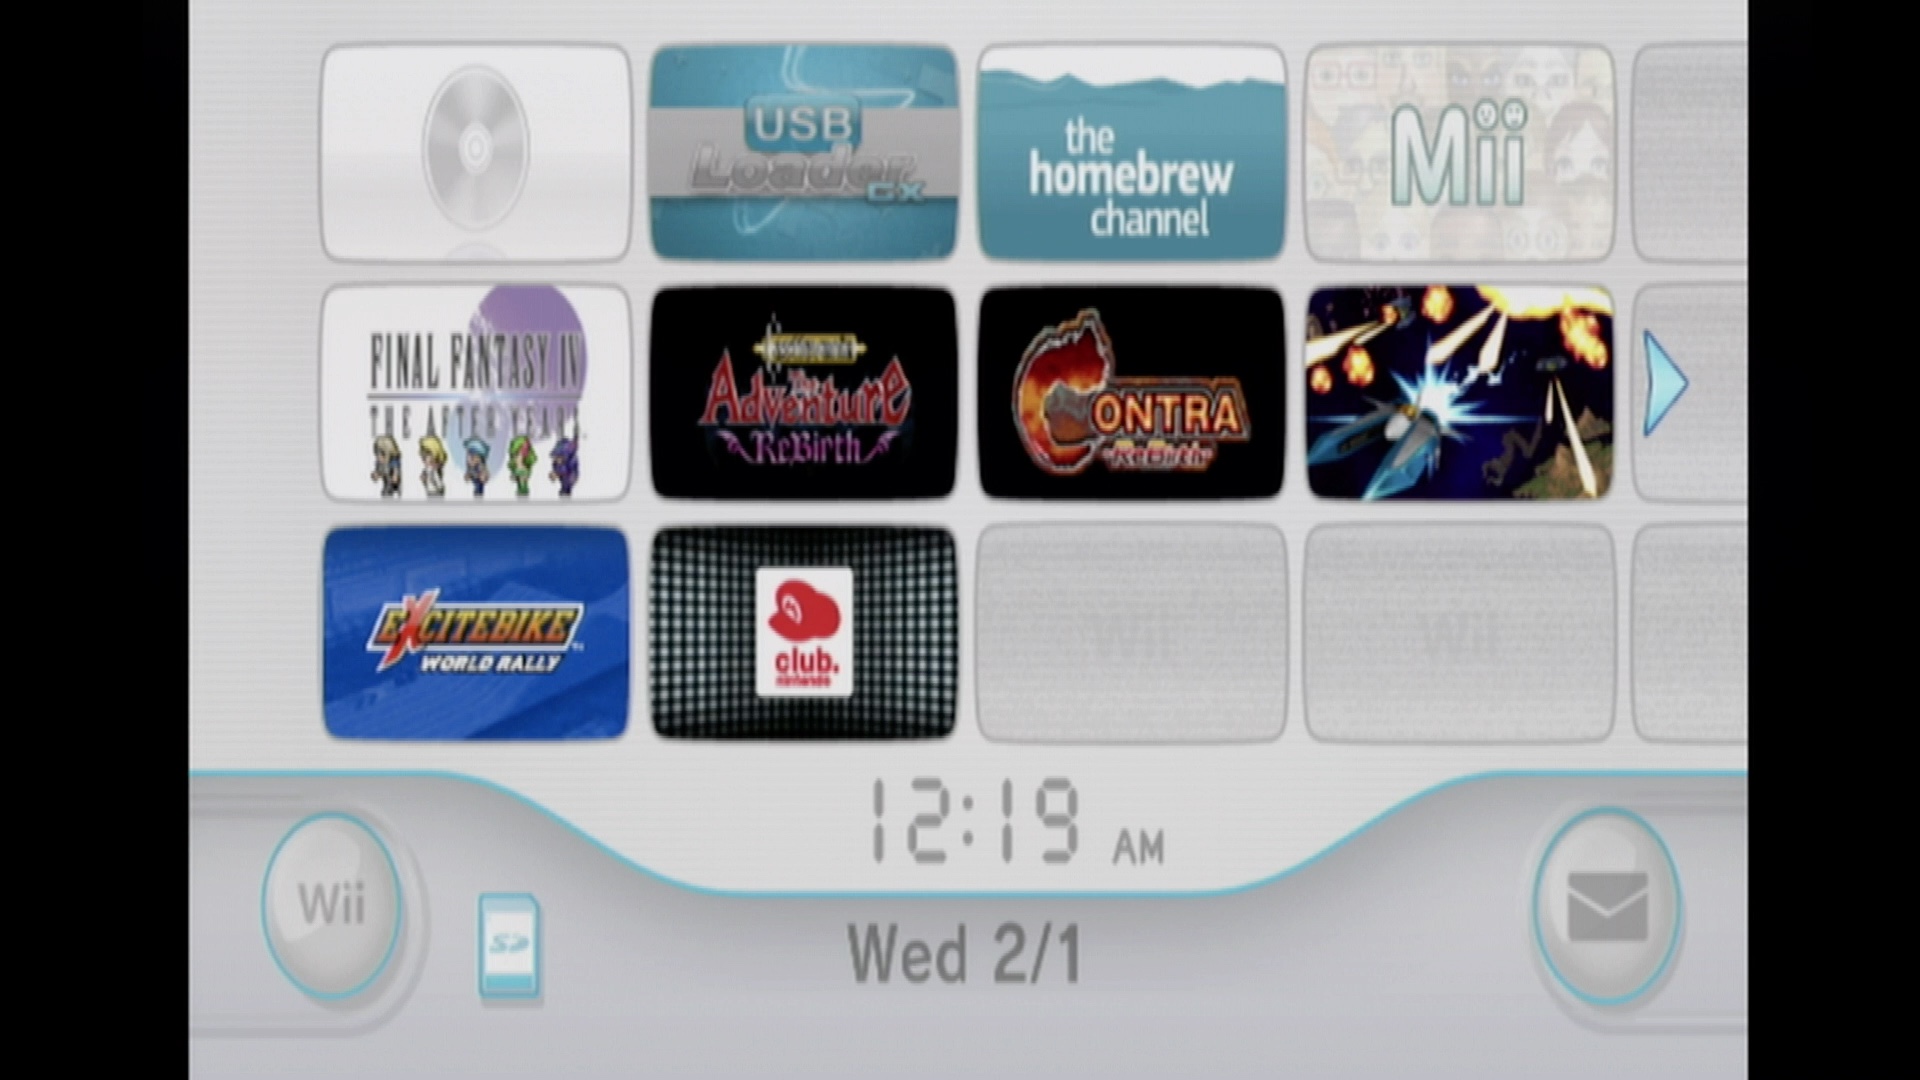
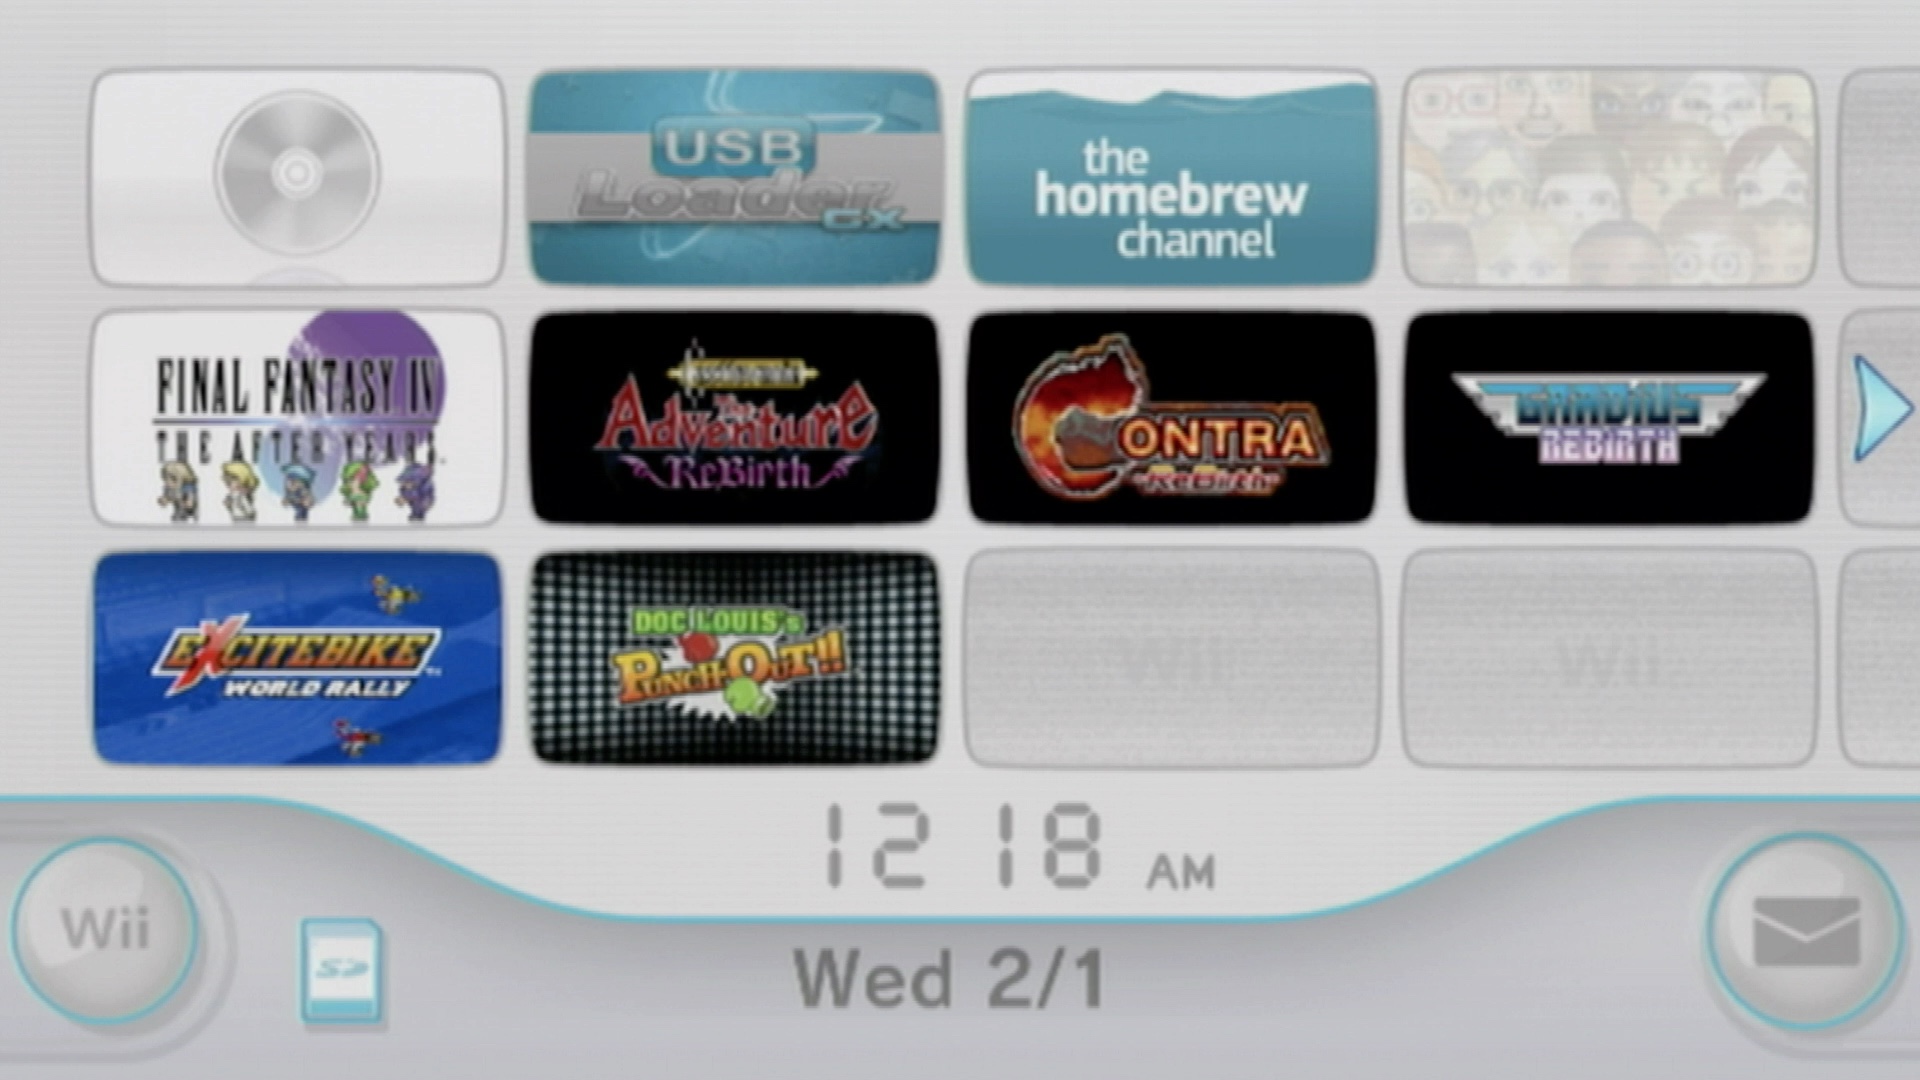
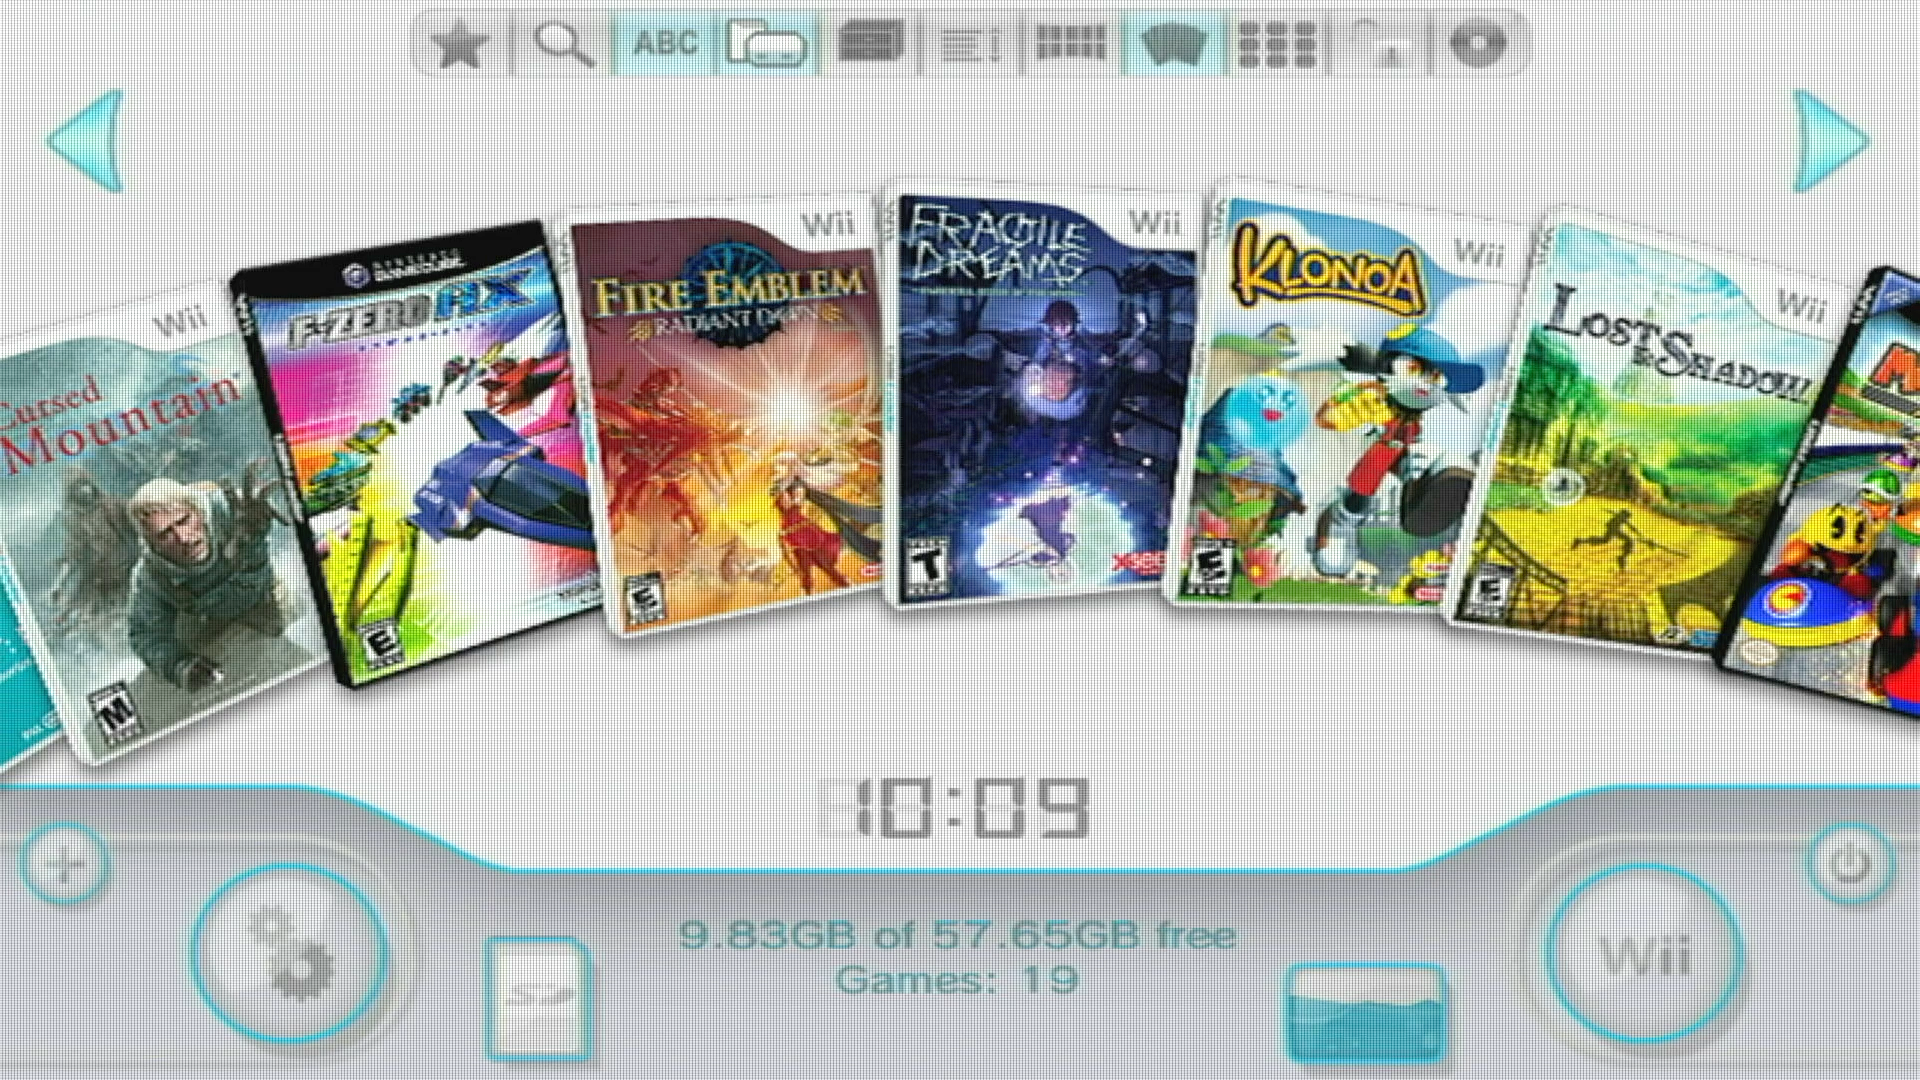
USB Loader GX
For ease of use, I recommend using USB Loader GX to launch all games. You can adjust settings globally in Loader Settings, or on a game-to-game basis under each game’s Settings before launching. If there are some games you prefer in 4:3, adjust that game’s individual video output setting. Then set your TV or the RetroTINK 5x to match once you start playing the game.
To use USB Loader GX, you will need to jailbreak your Wii so you can install homebrew software. This is a good guide for that.
USB Loader GX also allows further tweaks to the Wii’s video output. These settings make very minor improvements, so don’t get too hung up tweaking these.
480p Pixel Fix
There is a 480p output bug that makes the picture slightly softer than it should be. USB Loader GX has a setting to fix older Wii models that have a this pixel glitch with 480p output. Later models may not have a fix yet. (The fix works on my RVL-CPU-01, but not on my RVL-CPU-40.) Identify your model here. More info about the 480p glitch can be found here. If the fix doesn’t work on your model, don’t sweat it too much. I bet the fix will eventually be applied to more models. Check USB Loader GX updates to see. This is something I set globally and forget about it.
- Turn on
480p Pixel Fix Patchin the USB Loader GX settings to fix it.
Deflicker Filter
Some Wii games will use a deflicker (blurry) filter to smooth the image and hide dithering and other artifacts. With USB Loader GX you can partially or completely disable this filter. Wobbling Pixels has a good video explaining this. You will find this option in the settings called Deflicker Filter. I tend to set this on a game-to-game basis.
Autois the default Wii setting.Off (Safe)disables the filter with some safeguards to prevent graphical glitches. This is my preferred setting.Off (Extended)disables the filter completely. Some games will have graphical glitches with this on.
Video Width
Wii games run internally at different pixel widths and are then stretched to a standard width when output. This setting removes this horizontal scaling so you end up with an image output that’s 1–1 to the framebuffer resulting in a sharper image.
This setting will distort the aspect ratio a bit depending on the game. Often it makes the image narrower, which is nice for games that have UI elements that extend into the overscan area when using 1080p (over) scaling on the RetroTINK 5x. I would set this on a game-to-game basis.
Autois the default Wii setting.Framebufferremoves the horizontal scaling.
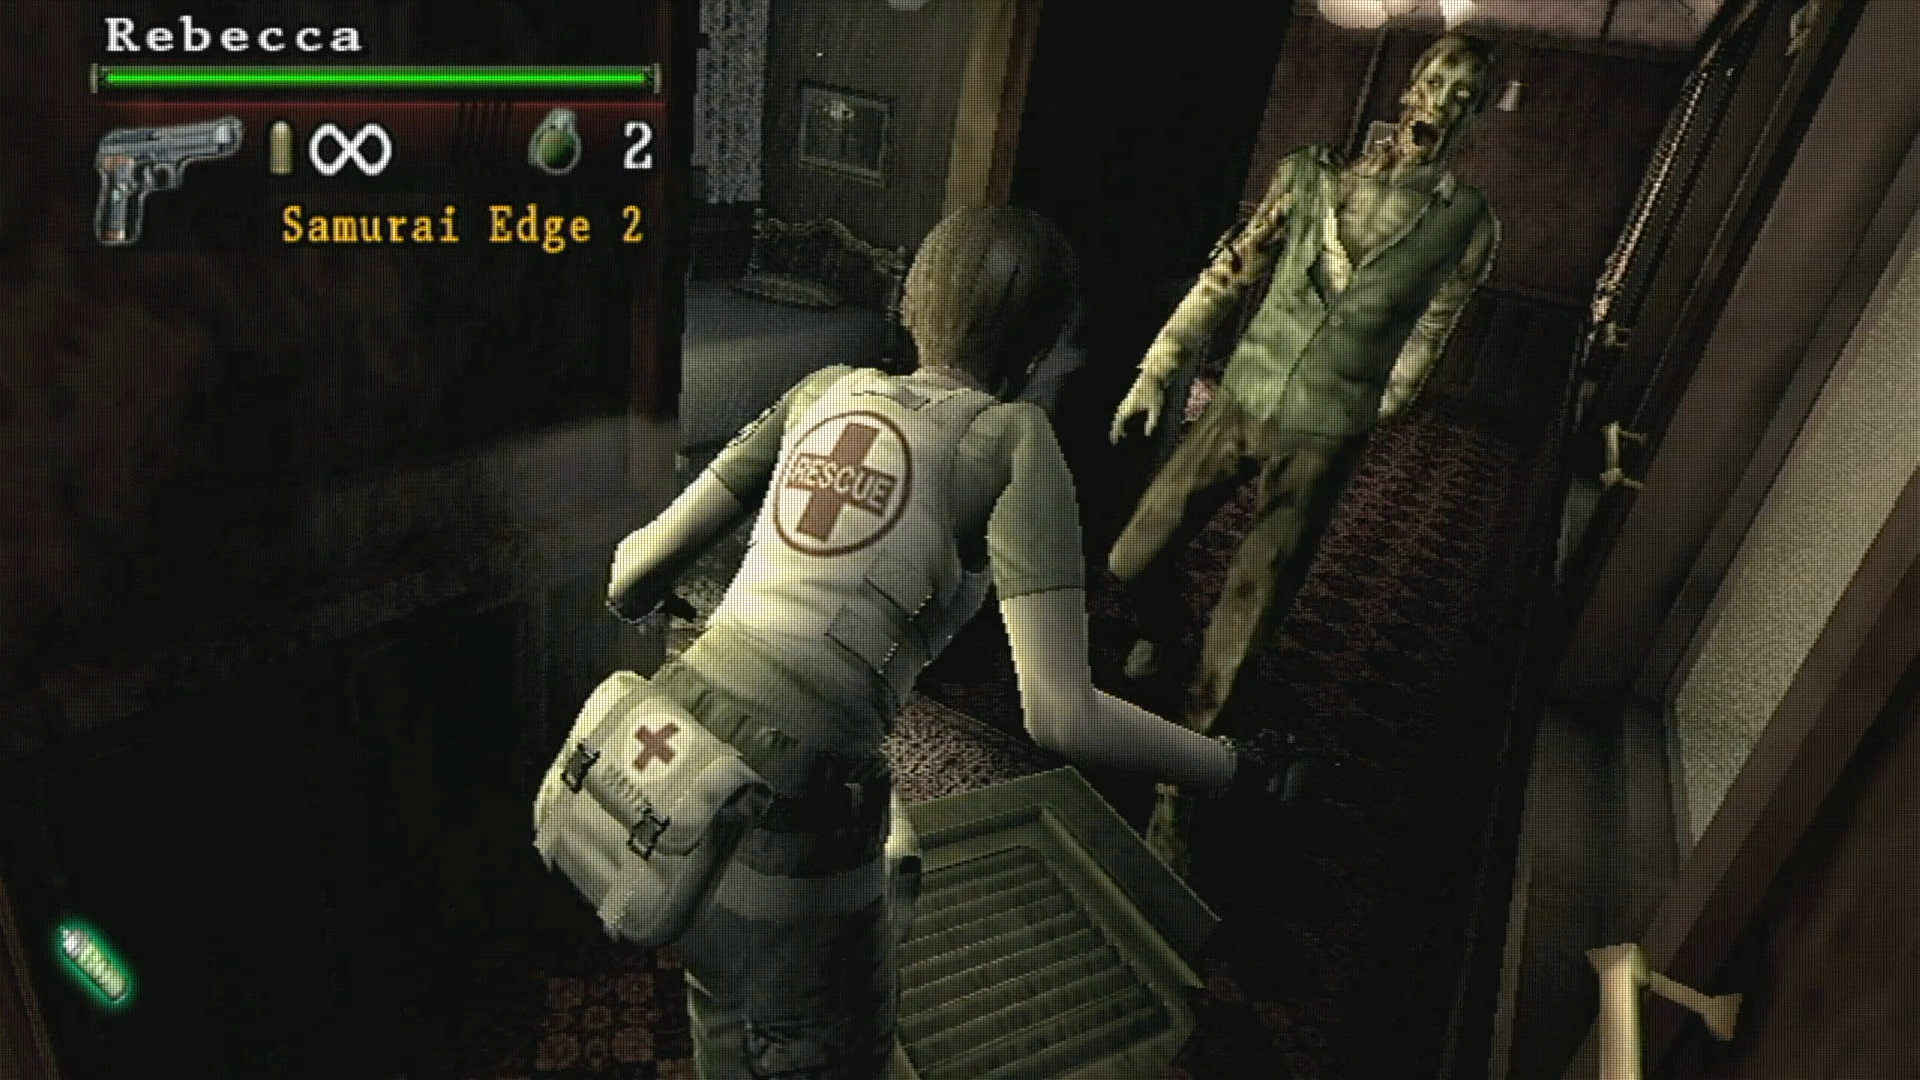
When turning on Framebuffer, I had a some games break. Resident Evil: The Umbrella Chronicles wouldn’t show the crosshairs and I couldn’t shoot anything. Muramasa: The Demon Blade would have issues with my character getting hung up on parts of the environment and some areas wouldn’t load. I would use this setting sparingly.
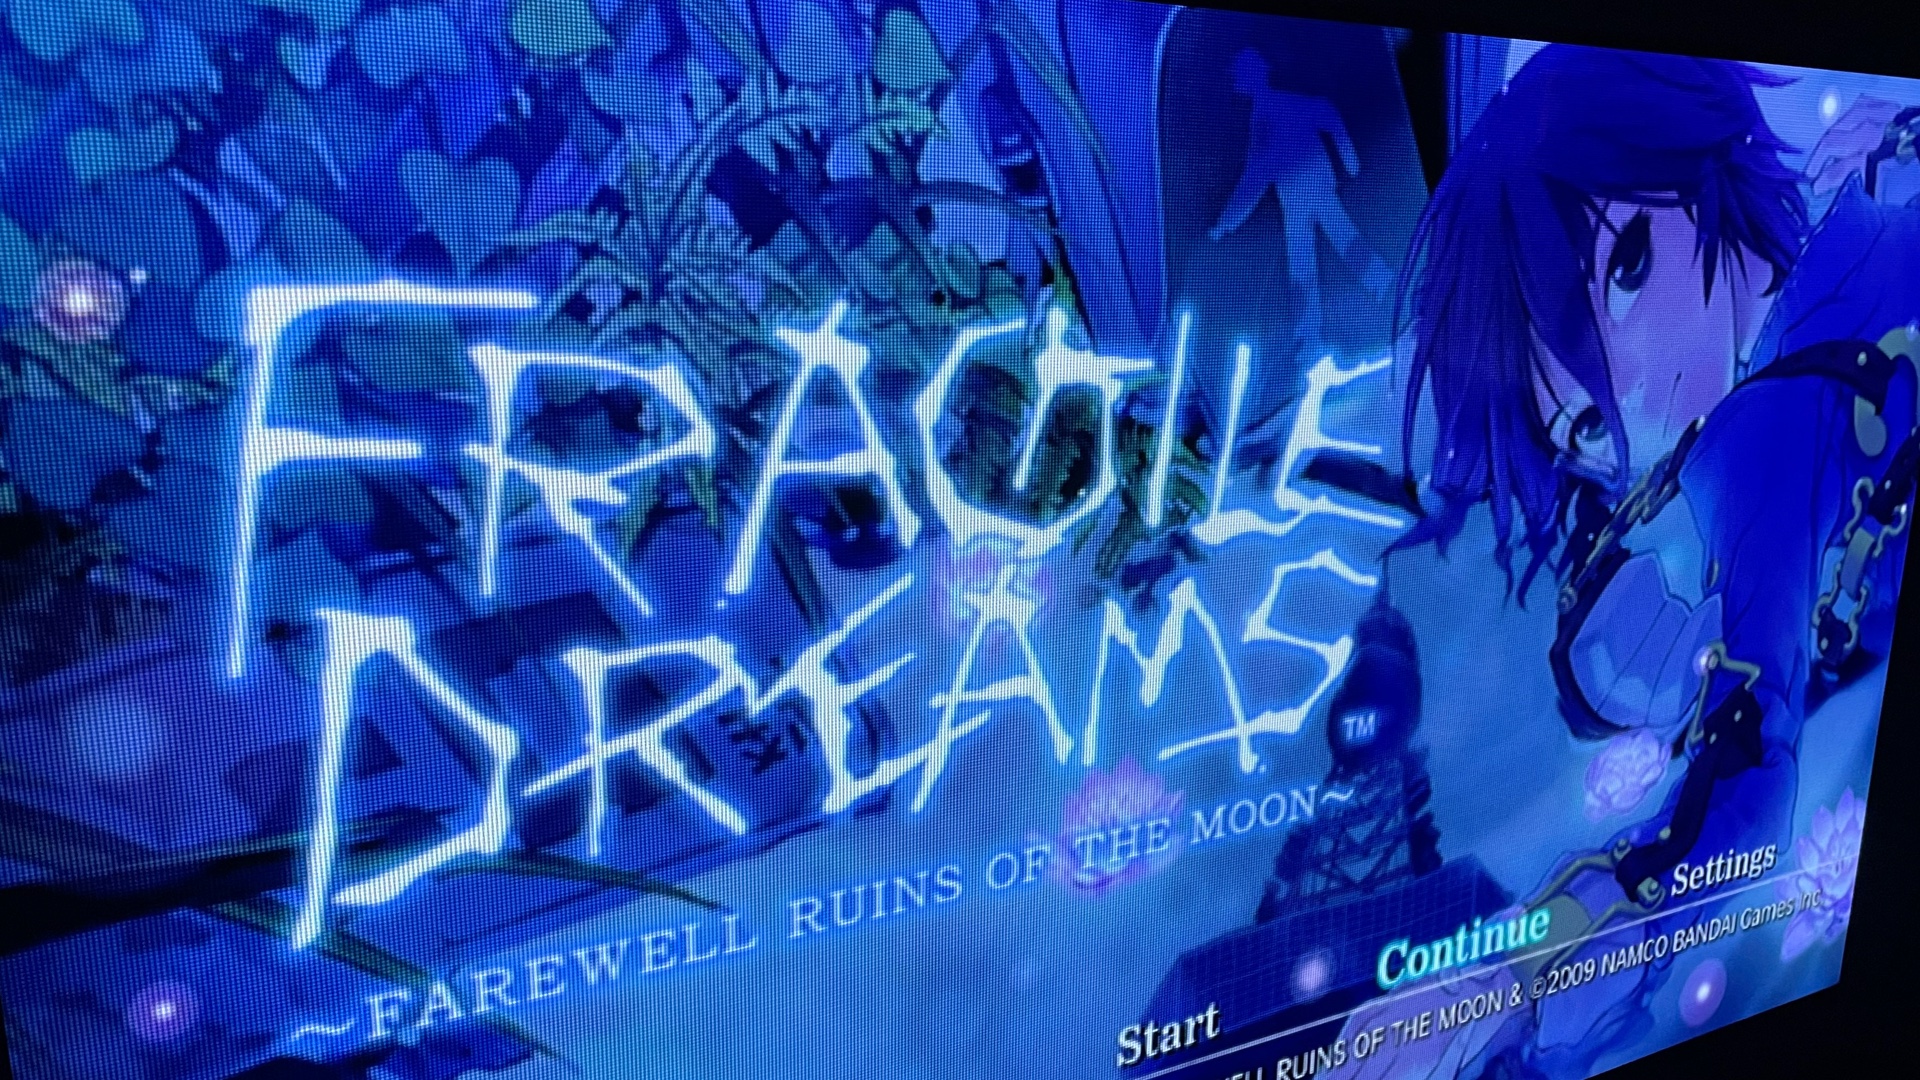
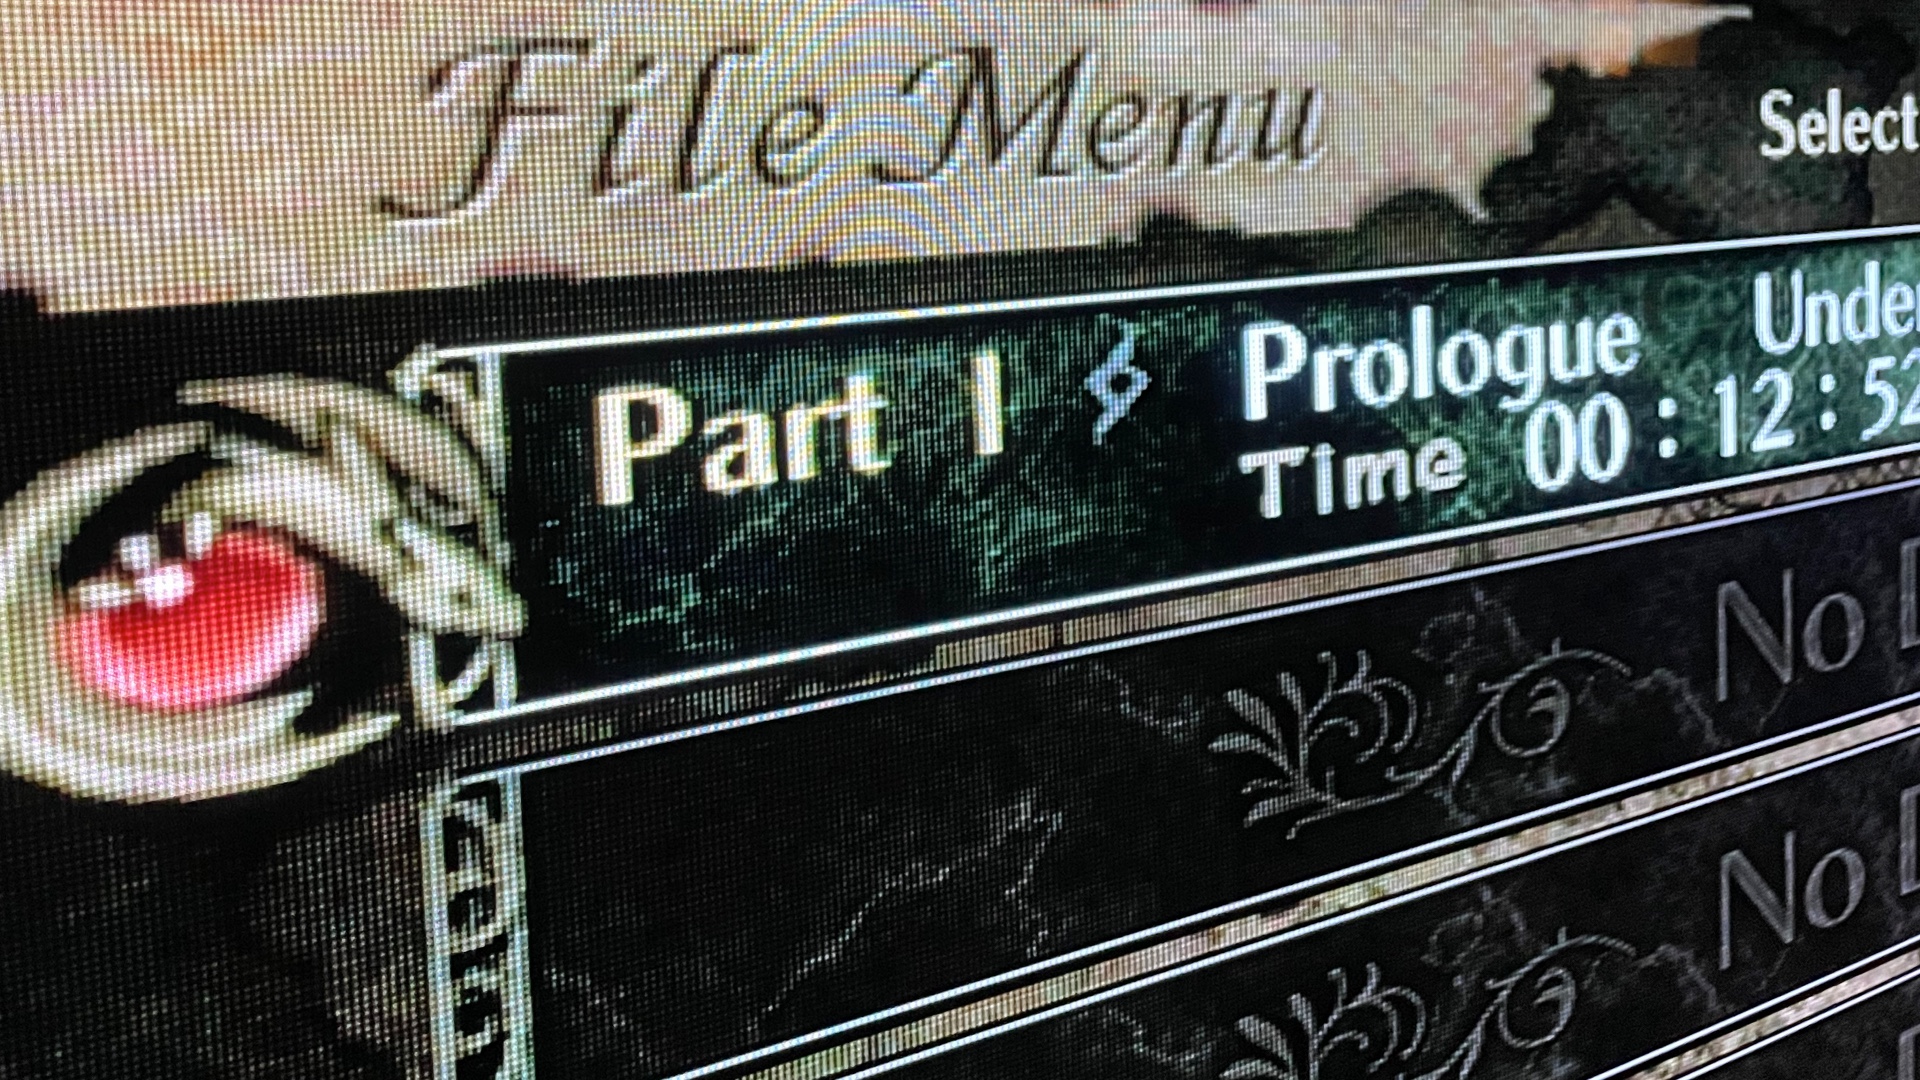
Screen Captures
Here are some screen captures using the RetroTINK 5x Widescreen (16:9) settings above with the 480p Pixel Fix Patch and the Deflicker Filter set to Off (Safe).
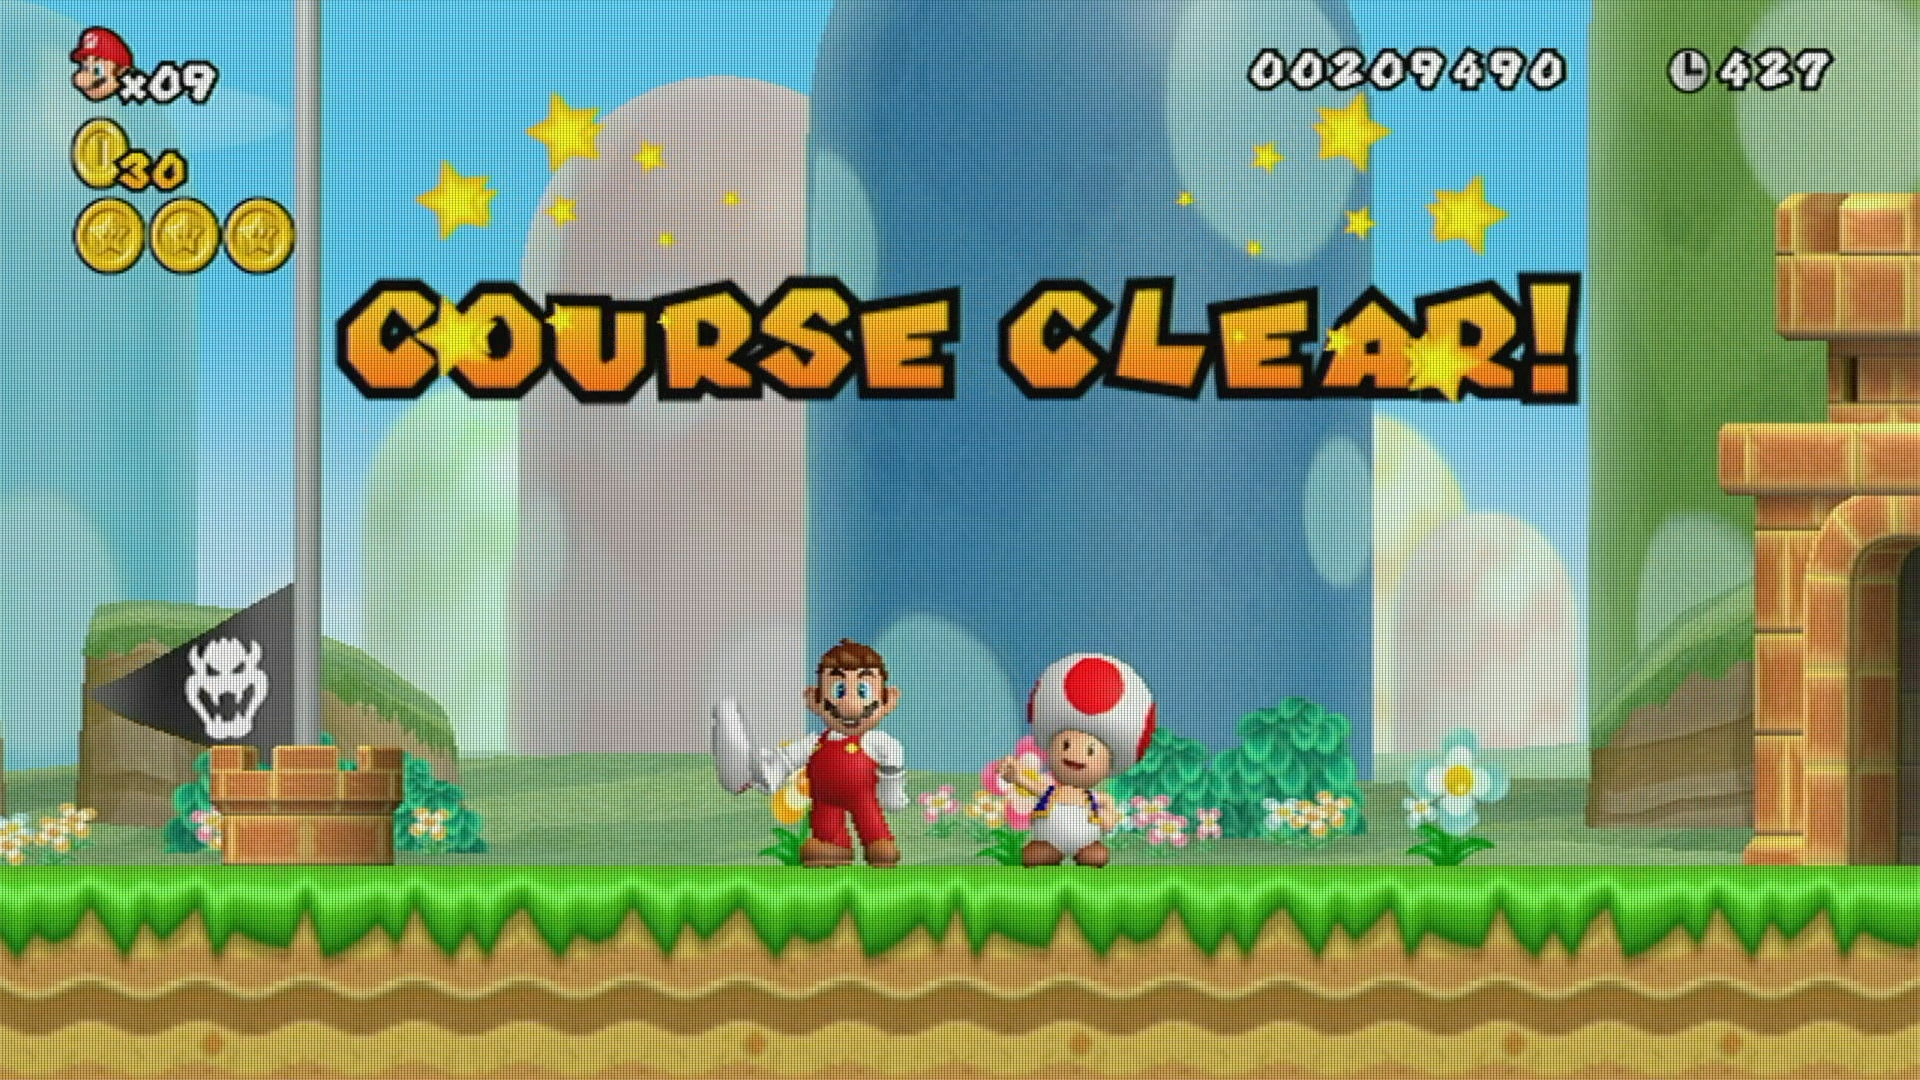
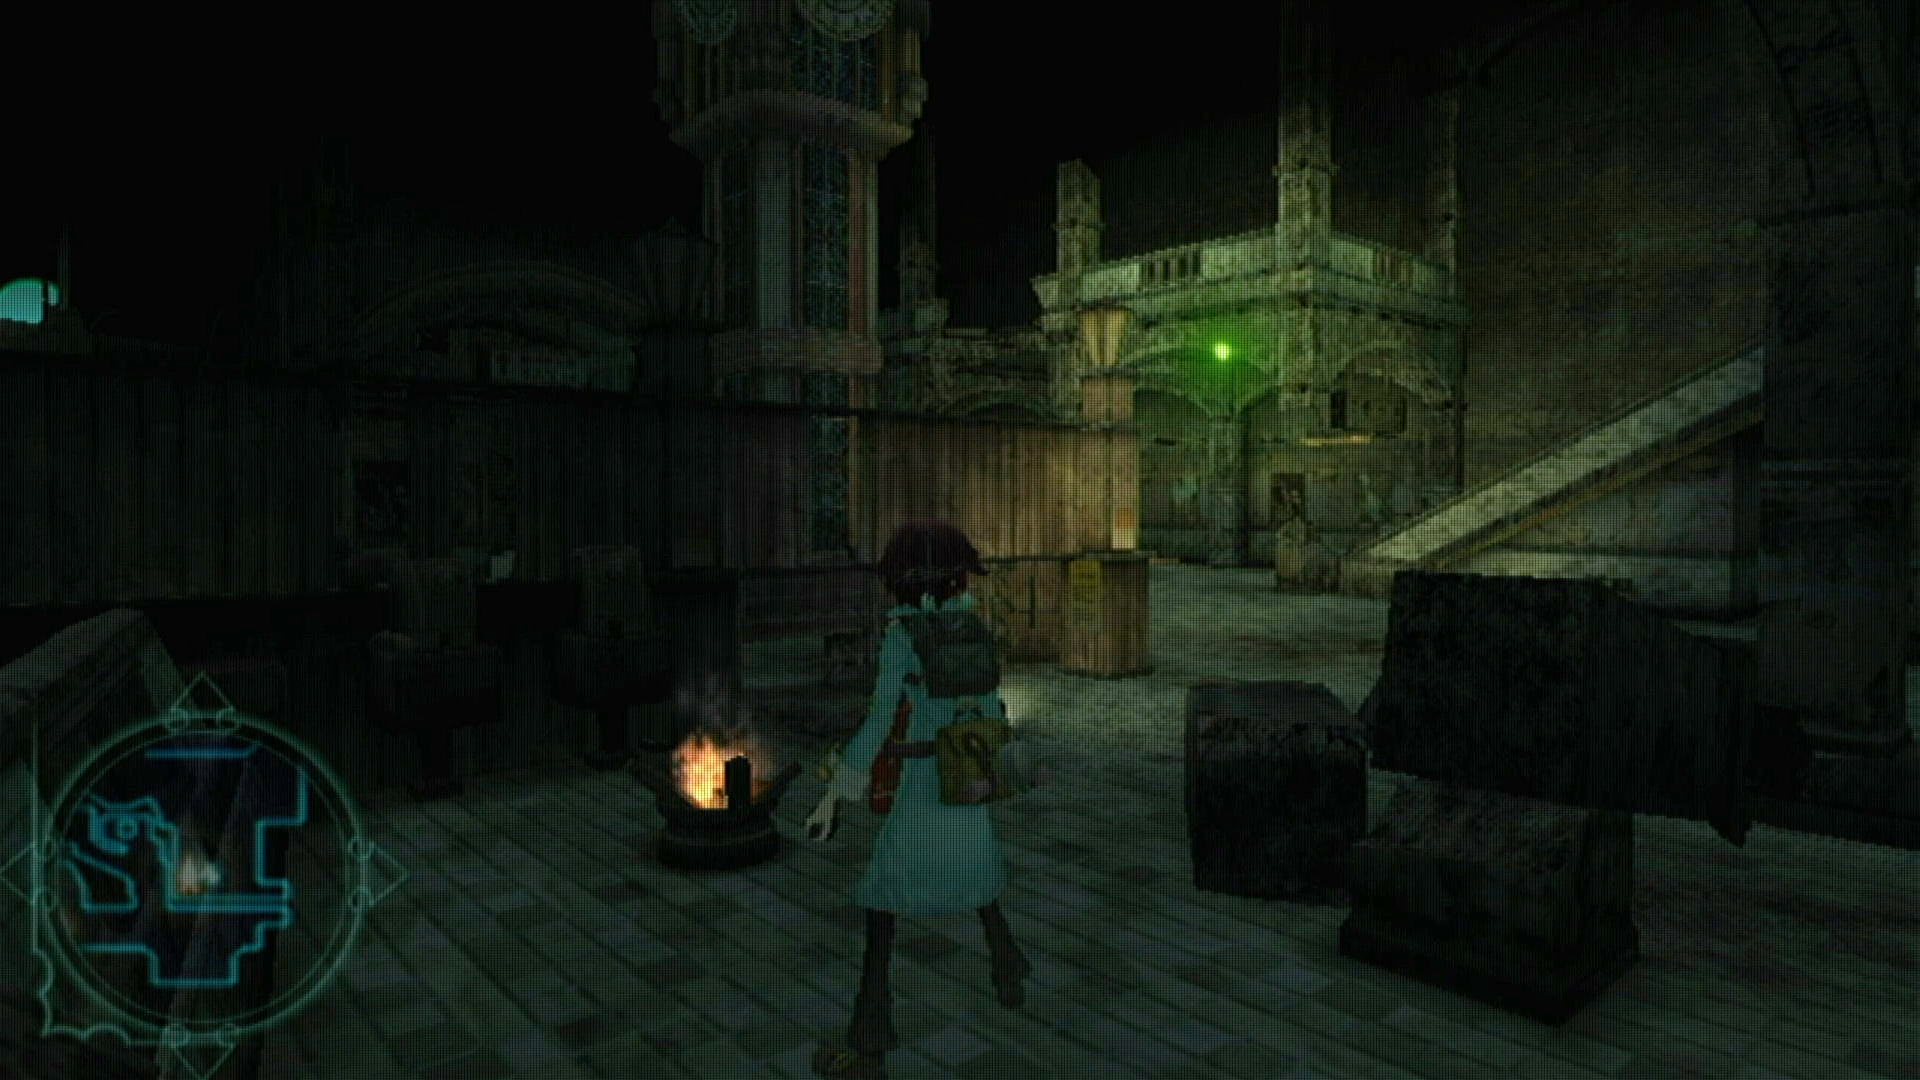

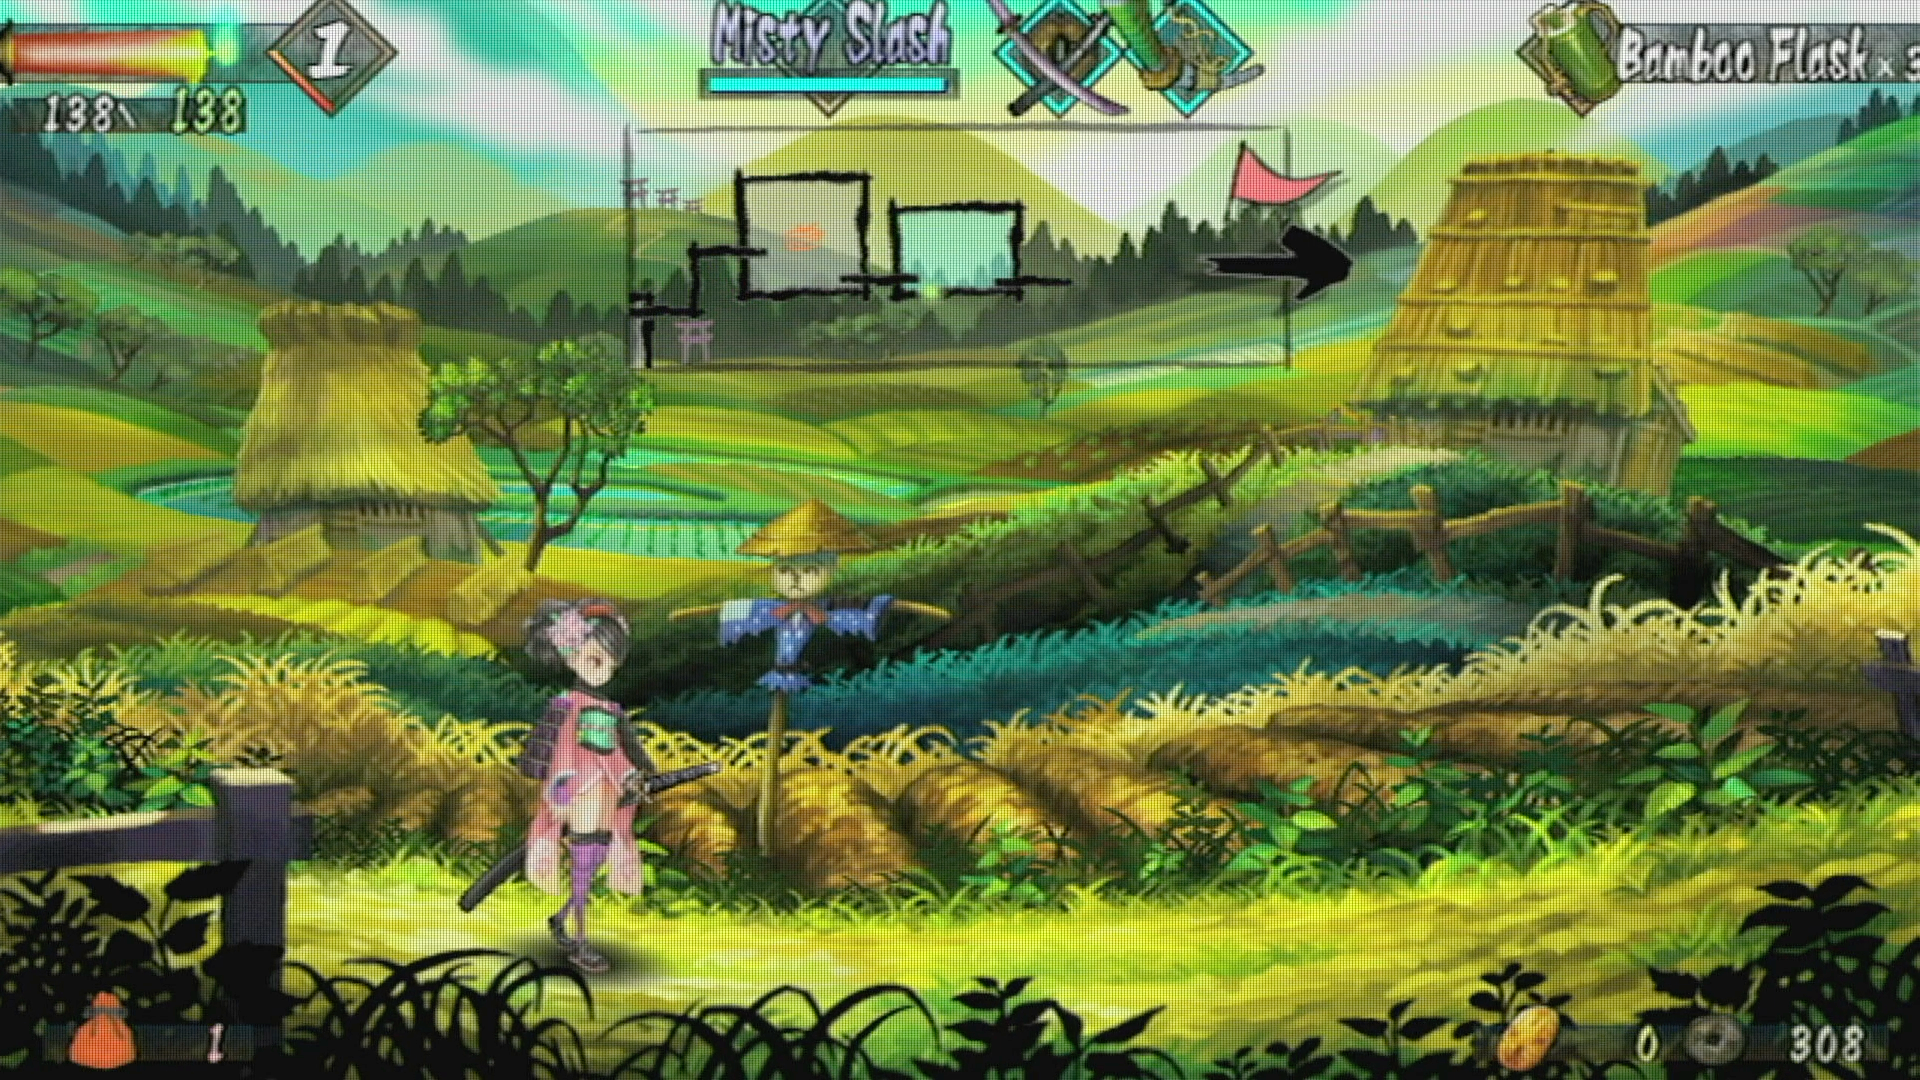
Things look pretty good on the HDTV!