Why DVDs?
The RetroTINK 5x is a great scaler for classic video games with a focus on low latency and sharp output — but a video signal is a video signal. There isn’t any reason why the TINK couldn’t upscale a video source. After finding a couple of DVD players with analog output at Goodwill for a few bucks, I decided to see what the TINK could do.
I also have a post with my RetroTINK 4K DVD Profiles Settings.
Old TV Shows and Movies
If you are interested in classic video games odds are you are also interested in TV shows and movies from that time. Streaming services are convenient and have some of that content ready to watch, but they are unpredictable with titles coming and going. You never know when your favorite show might get cut from the service. Often, they don’t even have the old shows or movies you want to watch to begin with.
HD releases of old 4:3 TV shows will often be zoomed and re-cropped to fill a 16:9 HDTV screen. Sometimes it works for the better, like with the X-Files Blu-ray release. Sometimes not so much, like with The Simpsons on Disney+ or the Seinfeld 16:9 remaster. Because of that, DVDs might be the only way to watch those shows in their original format.
With DVDs and DVD players readily available and costing next to nothing, now is a good time to pick up some movies or TV shows for your collection. A lot of DVD content never made it to Blu-ray or streaming, and like vintage games, those titles are getting harder to find and are beginning to go up in value.
DVD Video Types
During the standard-definition era of home video there were a lot of ways to present video on square TVs and widescreen HDTVs.
Full-screen / Pan and Scan
“Full-screen” or “pan and scan” was when a widescreen (rectangle) image was edited to fit the full-screen (square) format of a 4:3 television. Often the left and right sides of the image were cut off and the picture frame would pan side to side to keep the focal point of the image in the square frame.
Generally, this is considered bad and ruins the framing of widescreen films. This Turner Classic Movies video does a good job explaining why.
Not to make things even more complex, but some full-screen releases were not pan and scan and went back to the original film scans to re-crop the image. This would add more details to the image on the top and bottom of the frame and sometimes crop some from the sides. This is called “open matte.” You can see how it works in “Evil Dead 2” 2000 Widescreen VHS vs Fullscreen DVD Video Comparison.
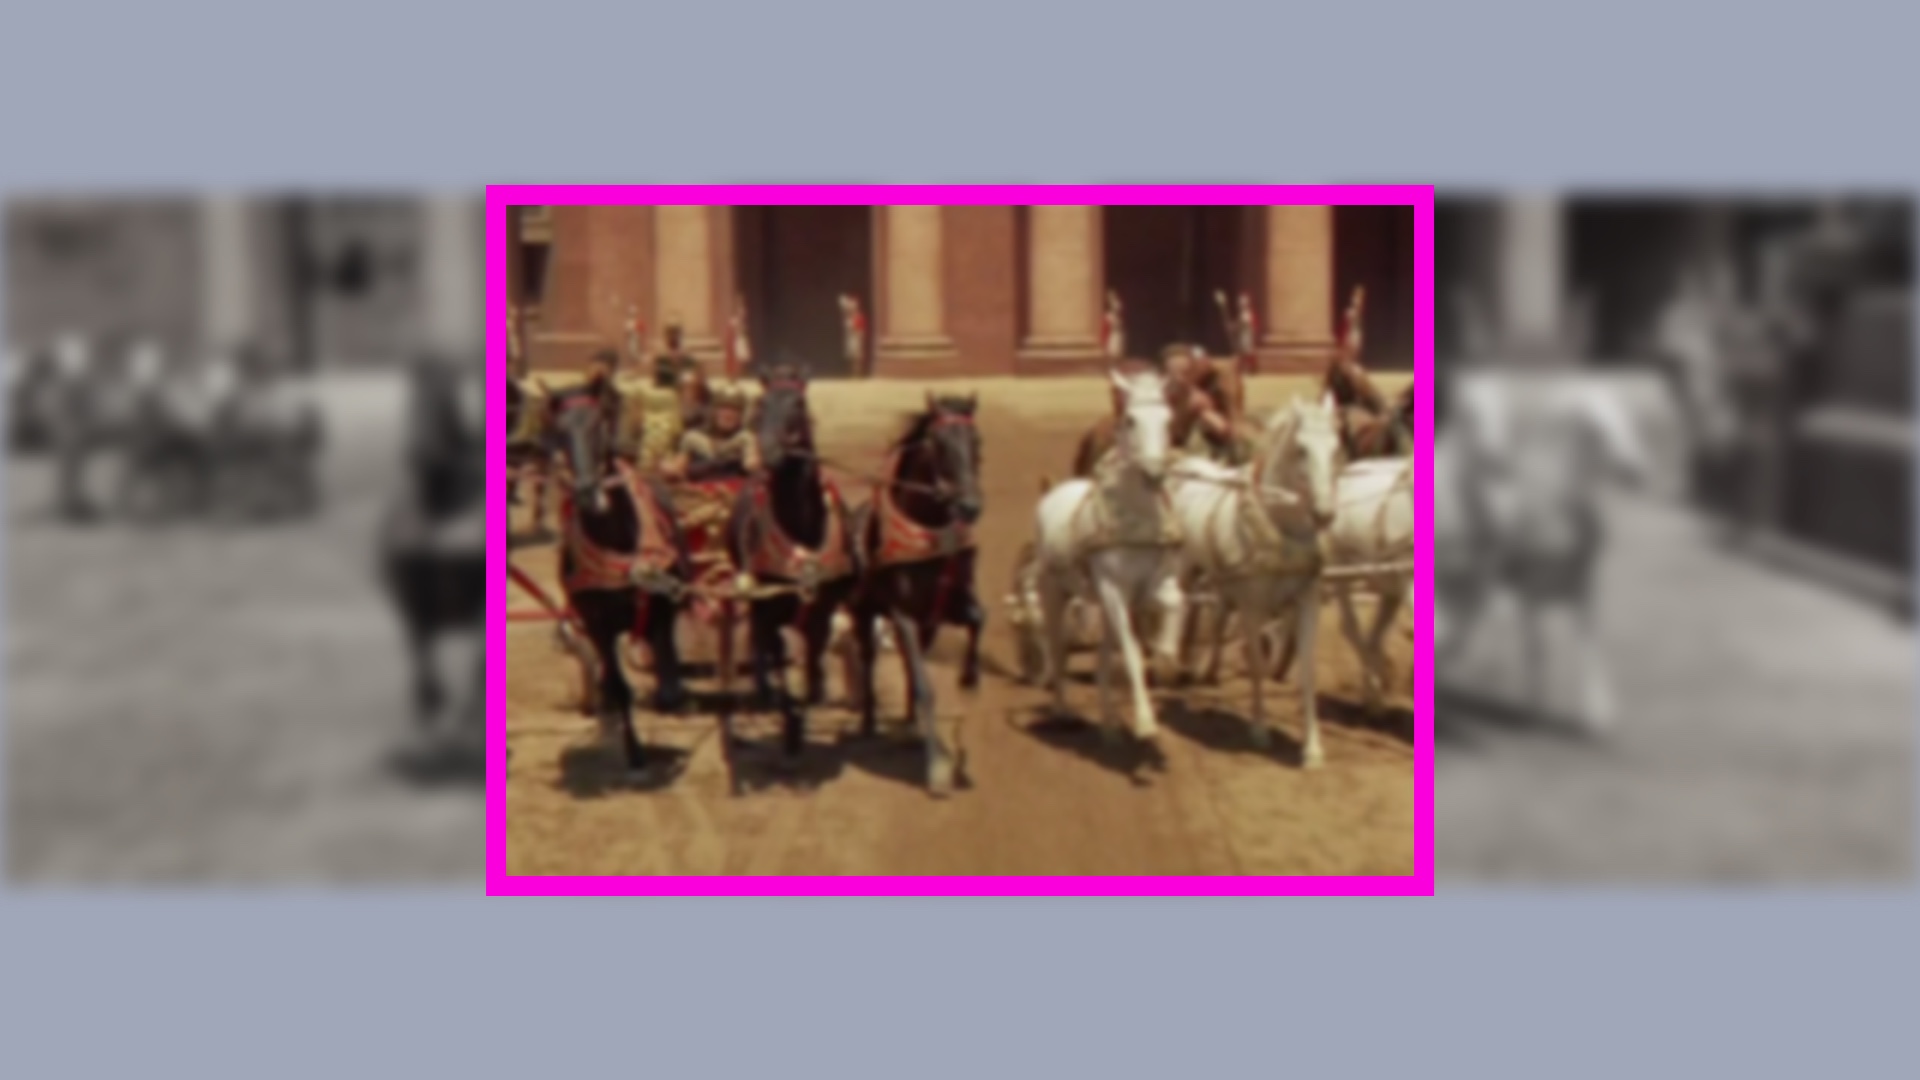
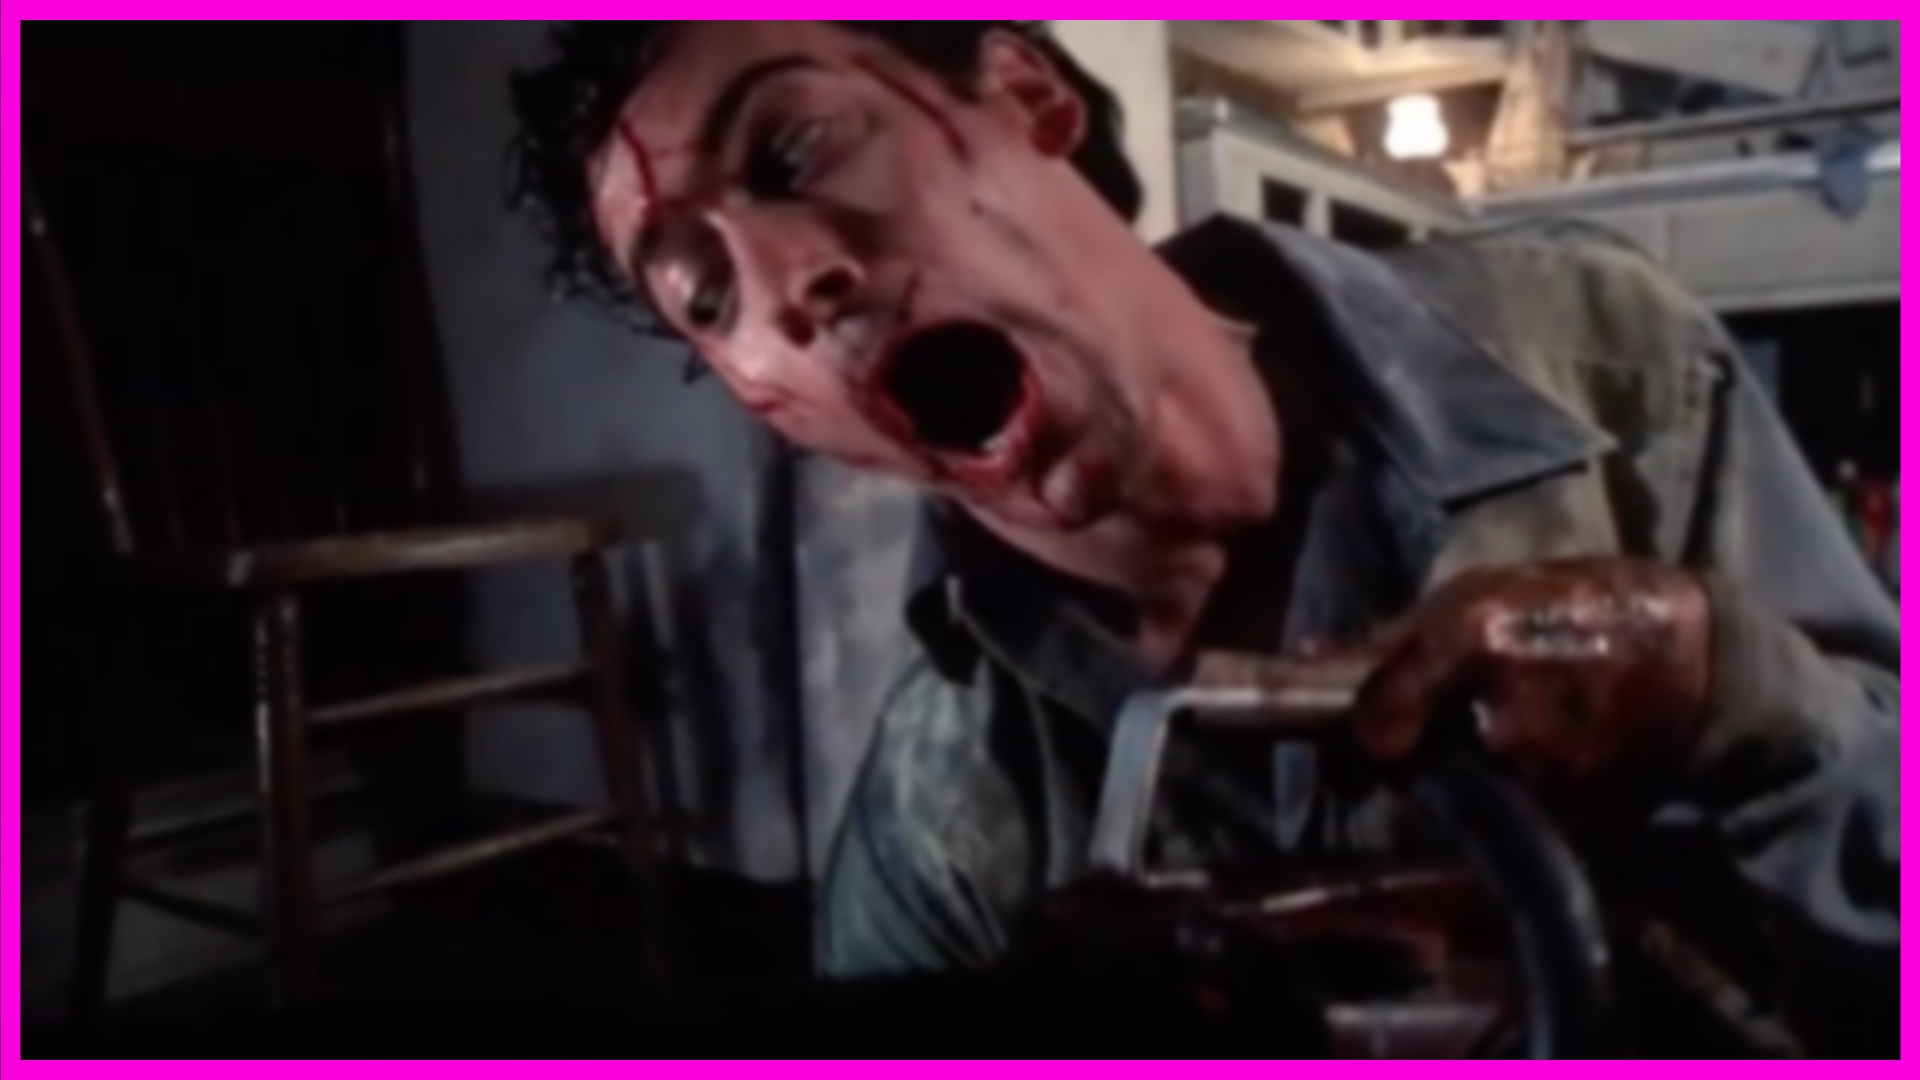
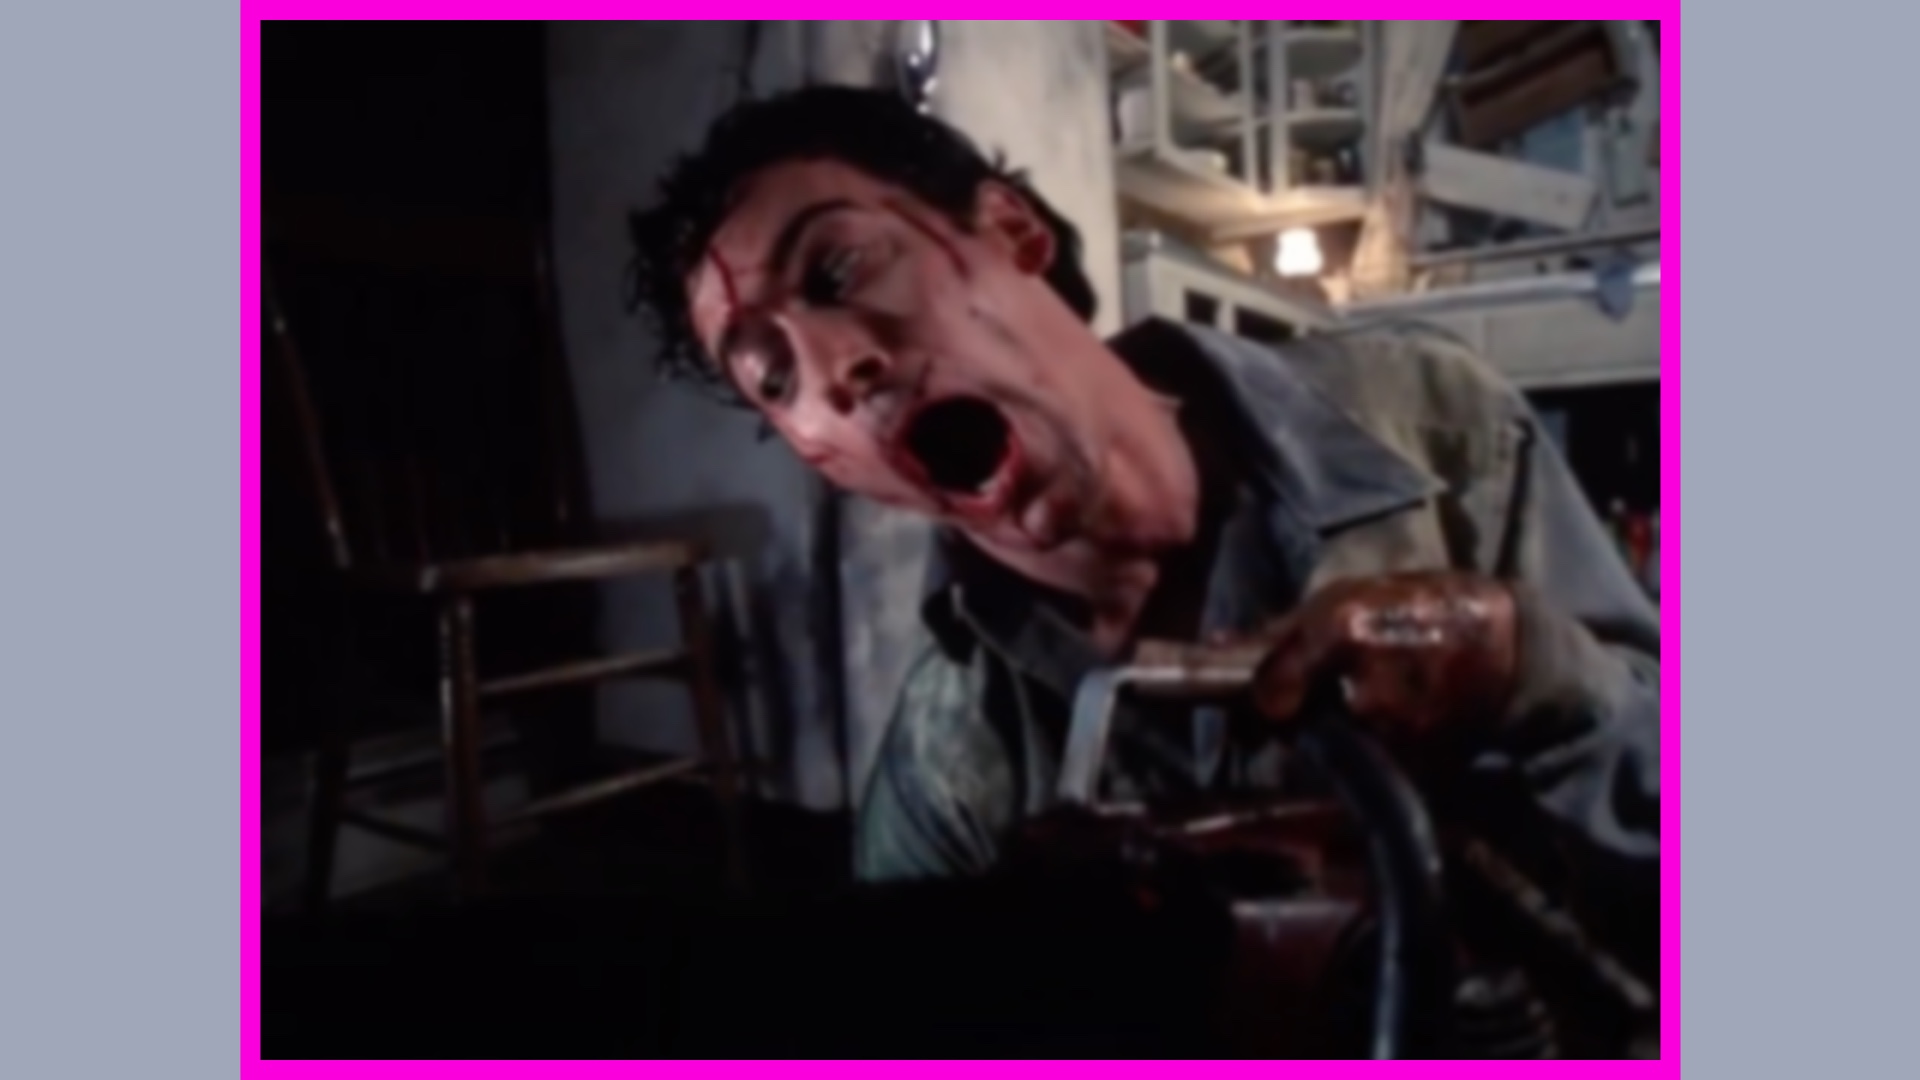
When picking up DVDs, be sure to pay attention to what version you are getting. If it’s a widescreen movie, stick with widescreen. If it’s a TV show that was originally 4:3, full-screen is fine since that was the original format.
After finding a widescreen DVD of your movie, there are two ways that it can be presented.
Letterboxed Widescreen
One way is with “letterboxing” or “matted” widescreen. This is when a widescreen image is placed in a square frame. Instead of zooming in and cropping, like explained above, the empty space above and below the image is filled with black bars. These black bars are baked-in, or part of the output image. They will always be present even when viewing on a widescreen TV.
A majority of widescreen TVs have a “zoom” option that will zoom in on the letterboxed image so it fills the entire screen. This isn’t ideal, since you are essentially zooming in on an already low resolution picture even more.
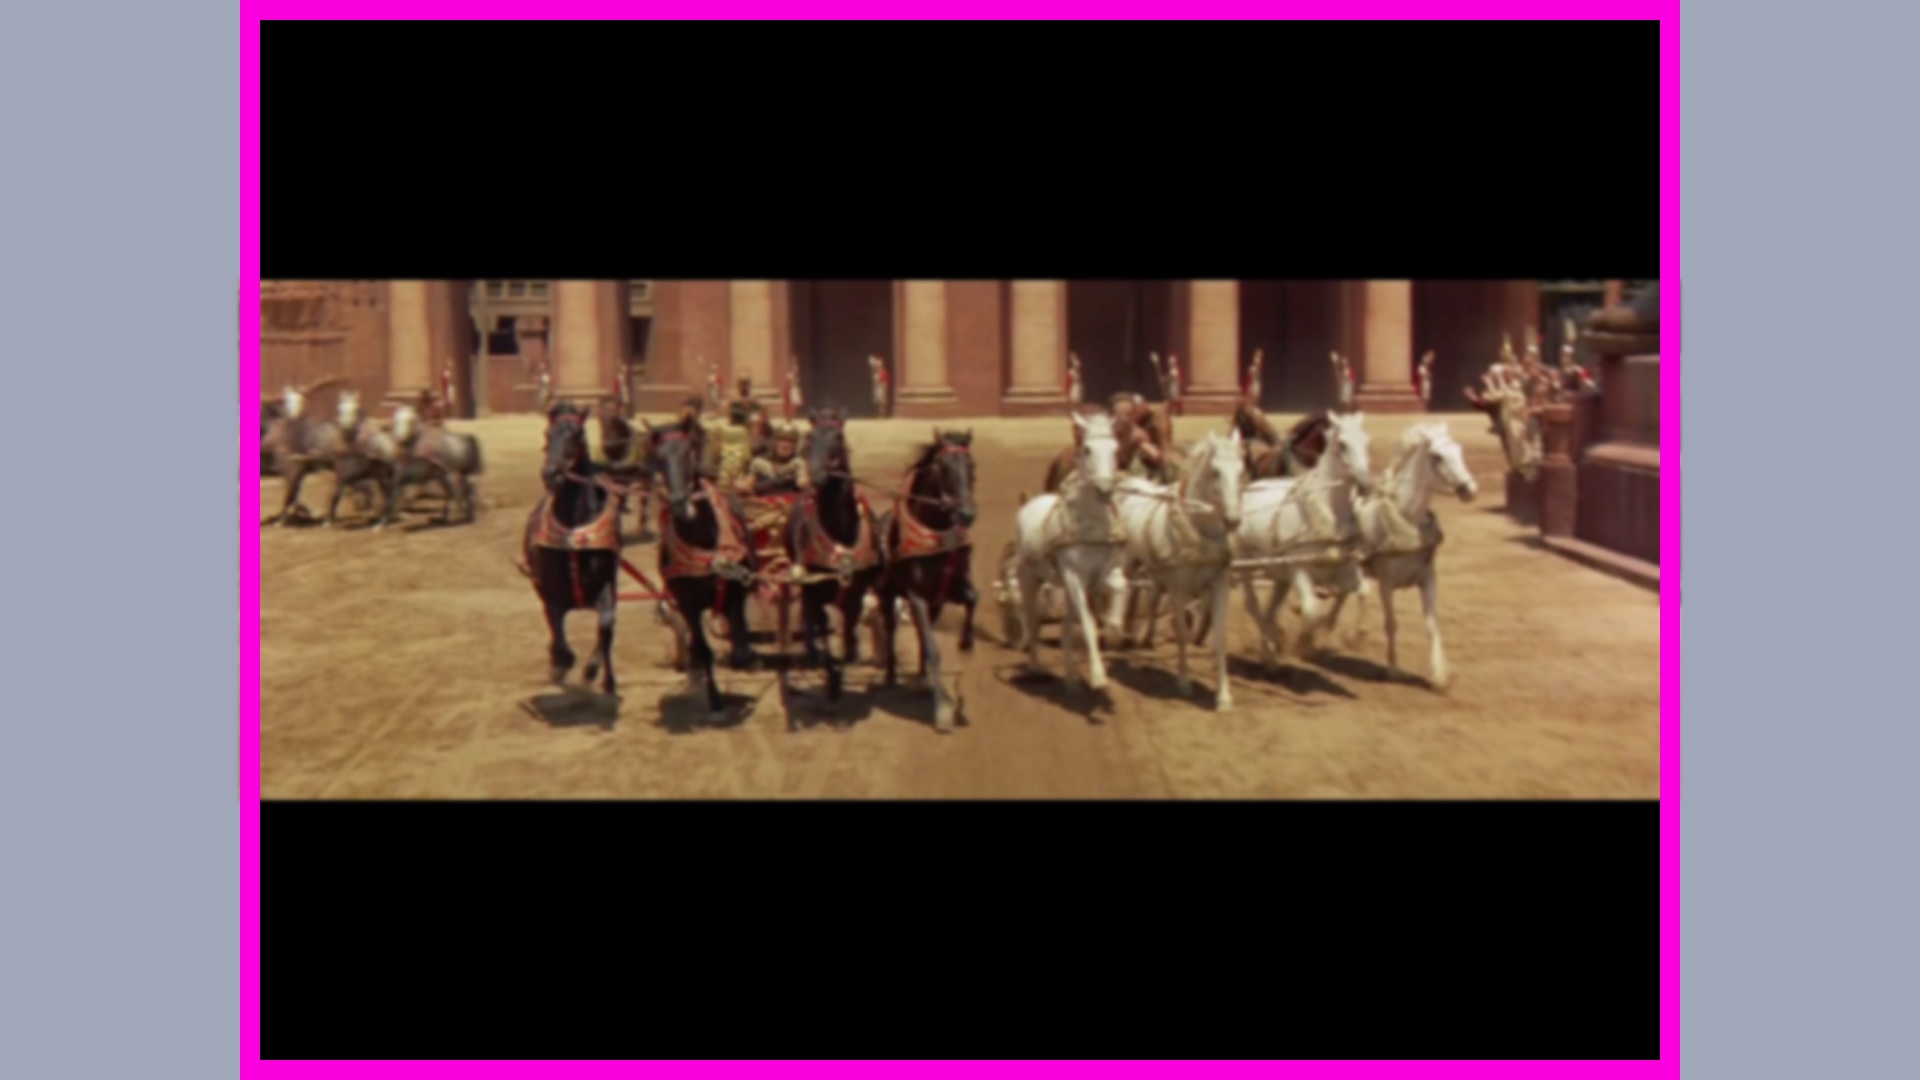
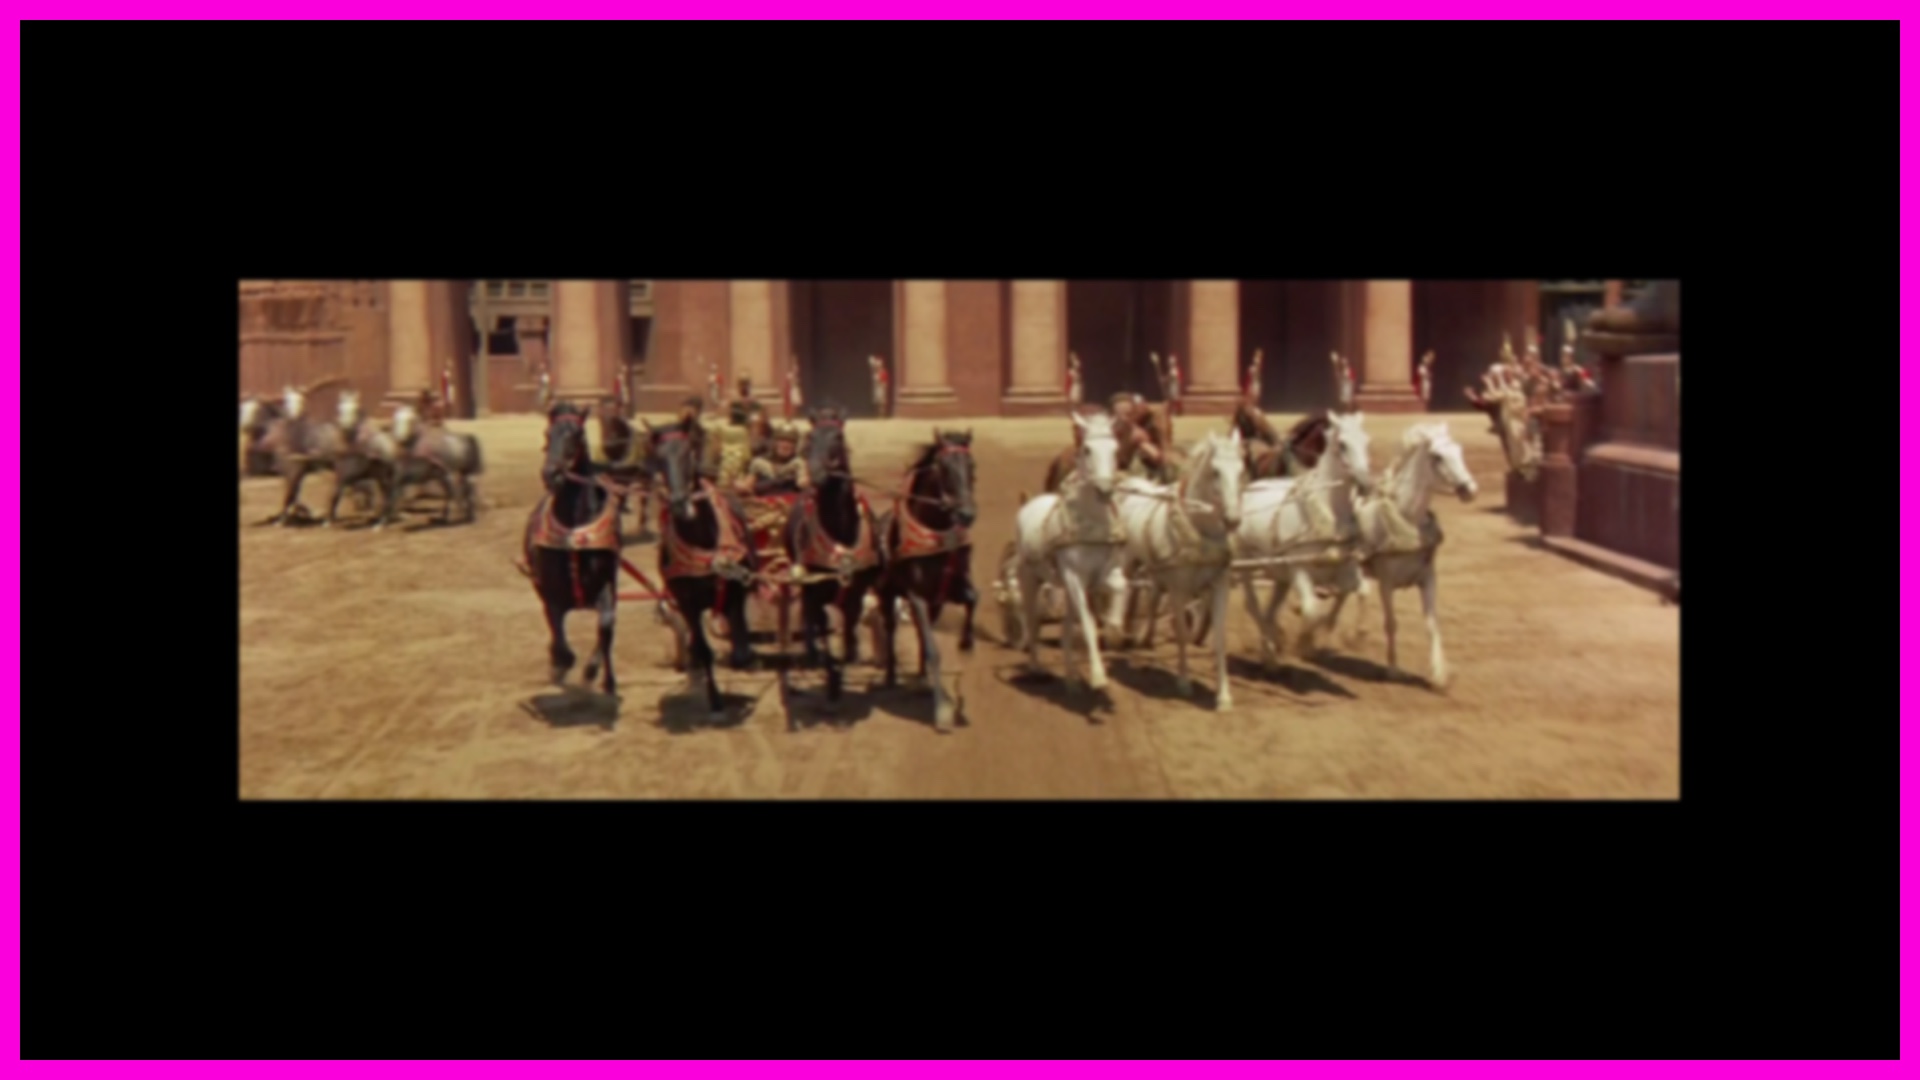
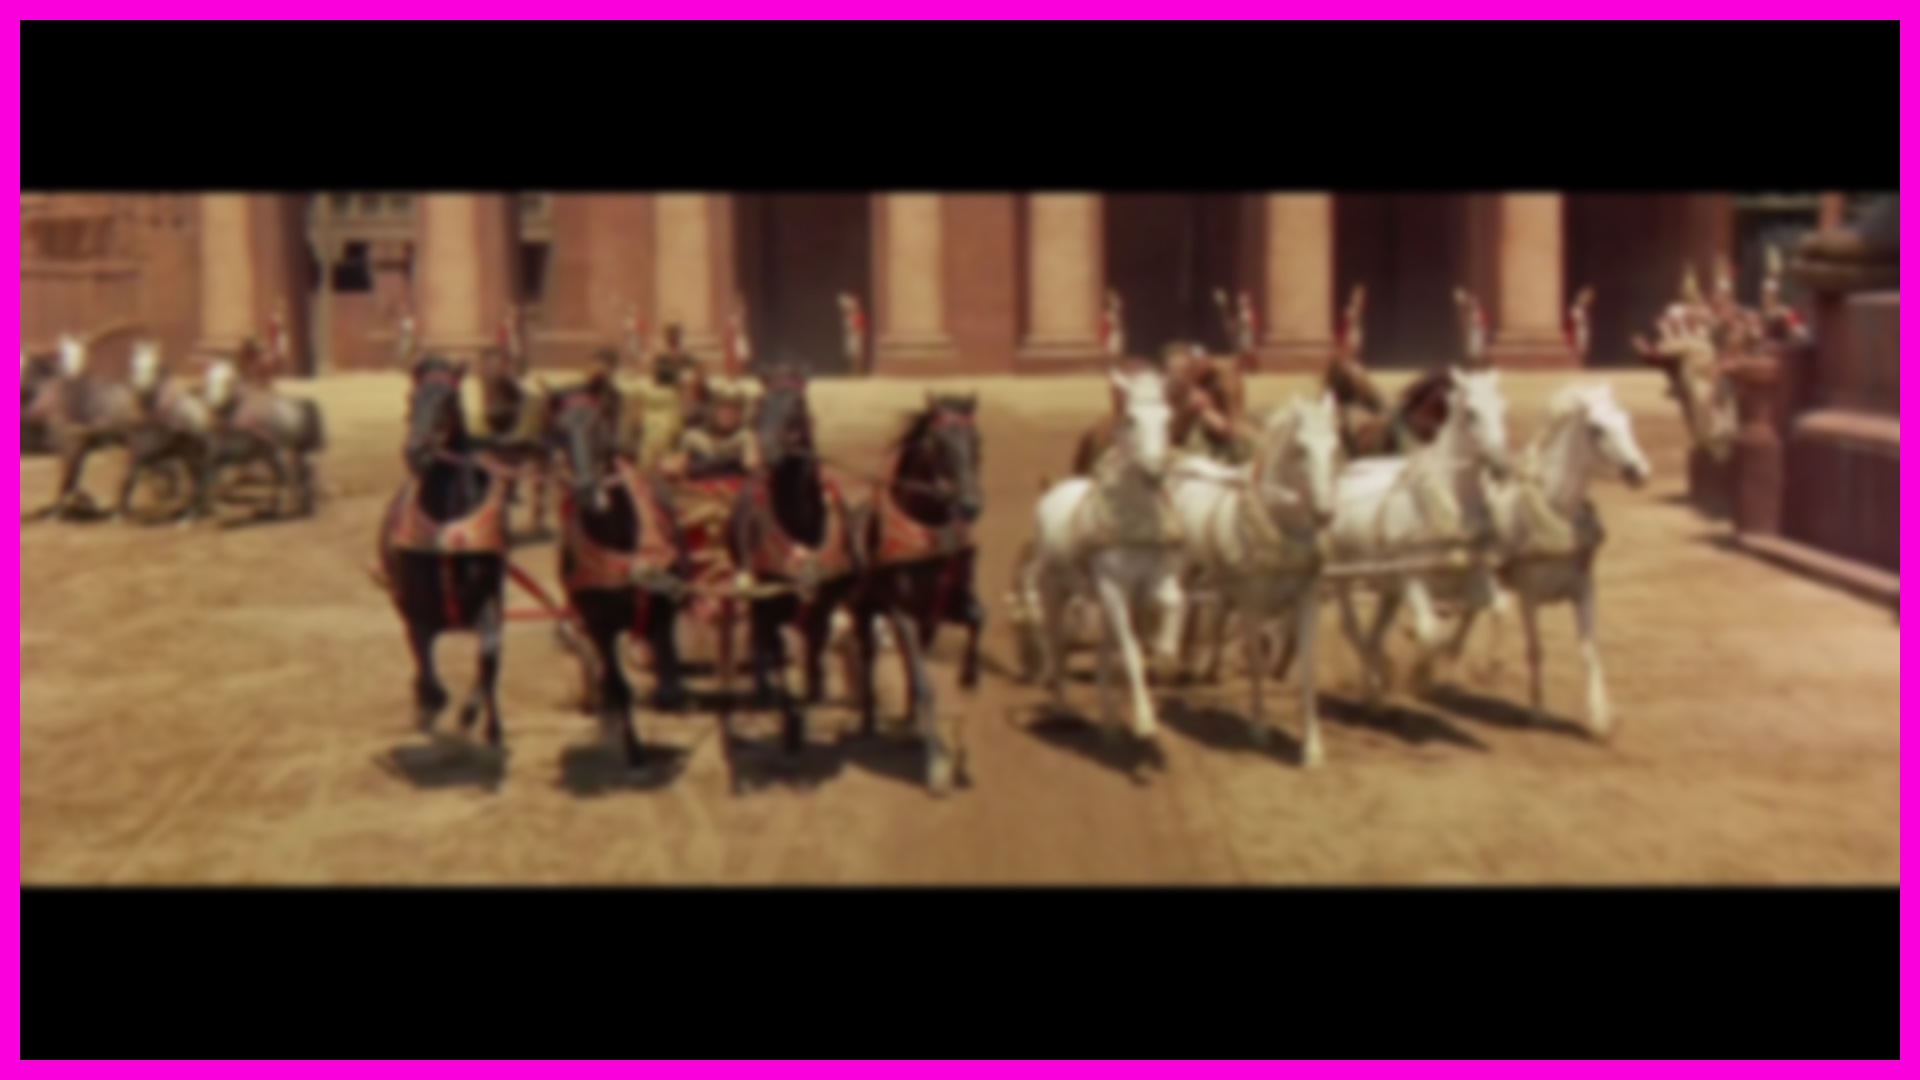
I generally avoid this format if the next option is available.
Anamorphic Widescreen
“Anamorphic Widescreen” or “16:9 enhanced,” often just called “Widescreen,” is usually the desired format for widescreen TV and films. It’s different than letterbox in that it squishes the widescreen image into a square format.
When you set the DVD player to “full-screen,” it will stretch the image to its correct width and zoom out, adding the black bars above and below the image automatically for 4:3 TVs.
When you set the DVD player to “widescreen,” it will output the squished widescreen image full-frame. You will then need to set your widescreen TV or the RetroTINK 5x to “widescreen” and stretch the image back out to its correct aspect ratio.
The advantage of this format is that it adapts the image to you aspect ratio of your TV without having to zoom in on the image.


Interlaced and Progressive Scan
Once you’ve found some DVDs you’ll need a player to watch them on! When picking out a DVD player, you need to find one with analog outputs compatible with the RetroTINK 5x. You will want to look for composite, S-video, or component outputs.
All DVDs are 480i (interlaced) video. This means there are 480 horizontal lines that make up the image. The vast majority of standard definition TVs can only show 240 lines at once. To get around this limitation, we used interlaced video. For 1/60th of a second the even 480 lines are shown and the odd ones are blank. For the next 1/60th of a second the odd lines are shown and the evens are blank. This happens so fast that our eyes perceive all 480 lines at once. Even though it happens fast, you can still see some flickering.
The best quality signal will come from component. DVD players with that output will also have a feature called “Progressive Scan.” This is kind of like upscaling in that it takes a 480i (interlaced) image and fills in the blank space between scan lines on the fly to make a 480p (progressive) image by a process called de-interlacing.


De-interlacing
The biggest thing that affects the quality of upscaling 480i video is de-interlacing. This is process of filling in the gaps between the scan lines of interlaced video to give you a progressive 480p image. When done well, it results in a sharper image with no flickering. When done poorly, horizontal lines called “combing artifacts” become visible on the edges of moving elements in the image. This video explains the process well.
What About a Blu-ray Player?
I love the TINK and it does an amazing job, but honestly, I think a Blu-ray player does a better job of de-interlacing. It also has easy, built-in options to handle the various DVD video types.
The TINK is built for video games and Blu-ray players are for video. Those are their strengths. If you want an easy option that takes little work, go with a Blu-ray player.
(I didn’t test any HDMI out DVD players or ones that upscale since they aren’t compatible with the TINK. They just don’t offer anything a Blu-ray player doesn’t already do better.)
But, if your setup already has a TINK in it and you like more scaling options and CRT filters, read on for some settings to get started!
RetroTINK 5x Advantage
In my testing of a few DVD players I’ve found that they all do a mediocre to average job of de-interlacing when progressive scan is turned on. I think the RetroTINK 5x does a way better job, so when using the TINK, be sure to turn off progressive scan and let it handle de-interlacing.
The other advantage of the RetroTINK 5x is simply having more scaling options. One of my favorites is the 1080p (zoom) output option to cut off top and bottom overscan and glitchy video edges. This also fills up as much of my HDTV screen as possible horizontally with 4:3 video. The advanced Scaling/Cropping options can make letterboxed signals fill the entire screen perfectly. There are also various filters to soften the image and help hide jaggy edges or combing artifacts from de-interlacing. CRT filters are always fun too.
RetroTINK 5x settings for DVD
Below are my settings for the best picture for DVDs with the RetroTINK 5x (as of Firmware 3.0).
Omitted settings are the default. Your setup will vary, so use this as a starting point. Be sure to try out the Post-Processing settings to find the look you prefer.
|
|
